Verde Rebuild Week 5
Mar 26, 2006
Well I got sidetracked by a bunch of stuff and the weather has
hinted at getting nicer, hopefully the snow is gone for good now. Figured
I'd better get moving if I want to drive the Verde soon.
Did bits and pieces over the past weeks, not all rebuild related!
Spent a little time cleaning the block some more:
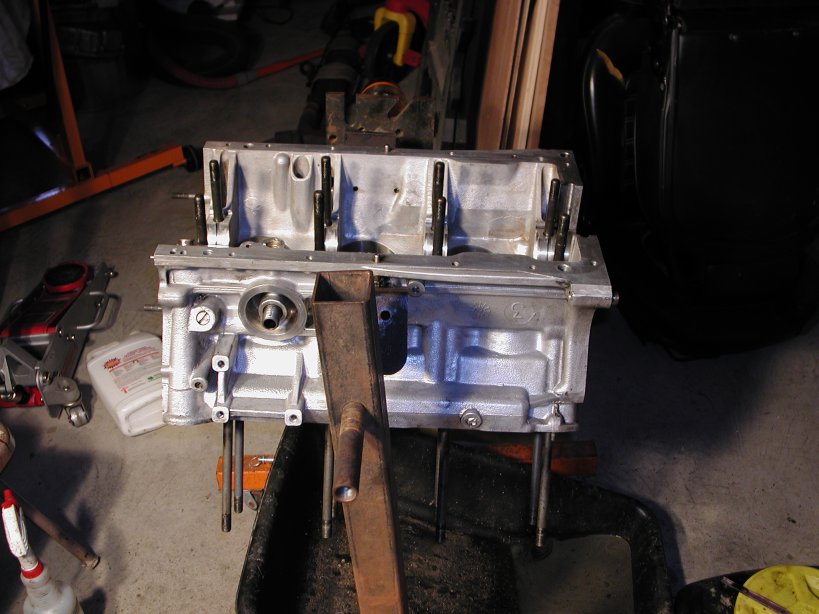
Andy (at Performatek) suggested that the easiest way to get them off was to use a hack saw and carefully do a just off vertical (10 0r 15 degrees or so) cut, just enough to keep from cutting into the bar. Cut almost all the way through and then carefully go at it with a chisel or screwdriver and some pliers. Took a while, but got it off.

Here's a shot of the bushes going into the end links. Needed to use the press to get the old one out (the one's that connect to the chassis). Putting the new two piece one's in was a piece of cake.
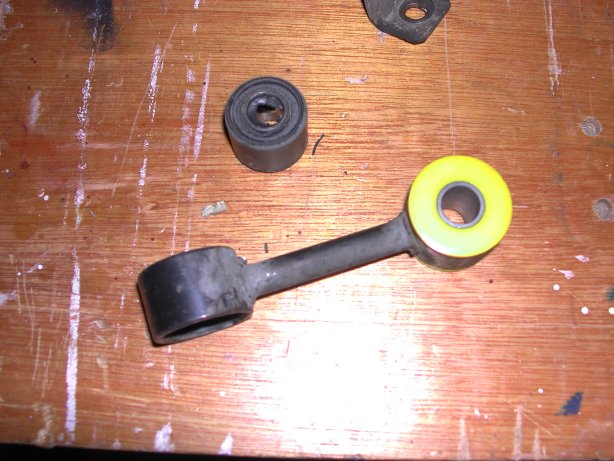
The stock sway bars have a domed washer between the end link
bush and the inner part of the bar on each side which my IAP bar didn't have.
I happened to have a sway bar from a platinum parts car (see other activities
below) so I put one of those on and then started hammering on the new bush.
I didn't notice that the post onto which the bush goes was a fair amount shorter
than the stock one so the bush wouldn't go all the way on with the washer there
so I had to yank the bush off again and put it back on without the washer.
Why they made the post shorter makes no sense to me, seems you'd really want a
washer there, oh well.
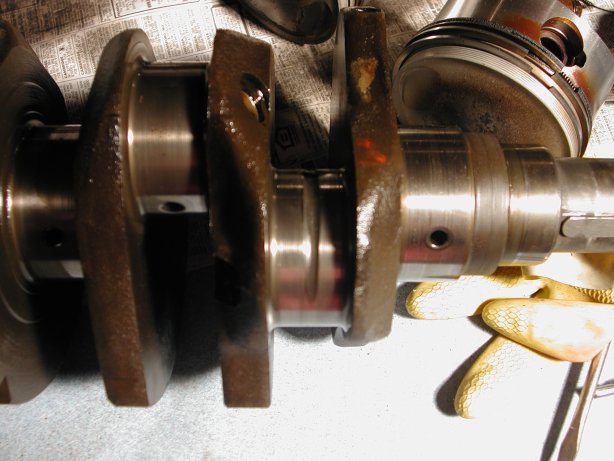
Started looking over the crank more carefully and got scared
when I noticed a rather large groove on the last piston journal that the other
ones didn't have. It looked like it had been machined it and it didn't go
all the way around so I sent out a question to the alfa-digest about it and was
informed that a number of other alfisti had the same worry when they did there
rebuilds but that they are all like that, phew!
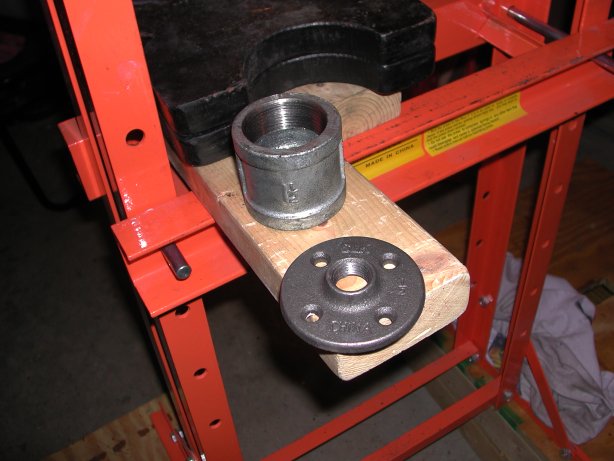
Next I decided to press out the rear engine mount from the bell housing cover, here it is ready and waiting.
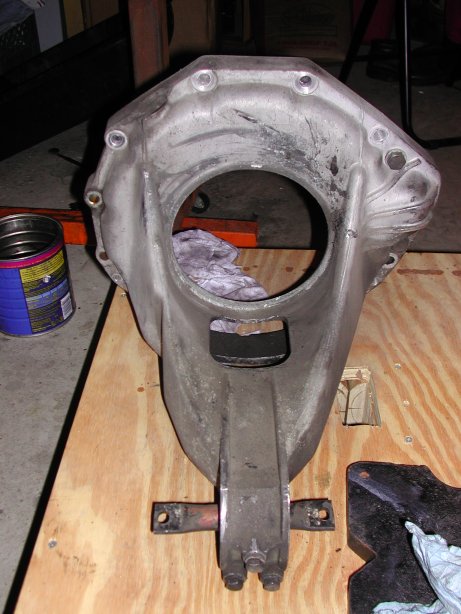
Here are the Home Depot special's that I used to help press it out, the 1.5" pipe was a perfect fit!
Here it is with the mount removed and scrubbed down with degreaser.
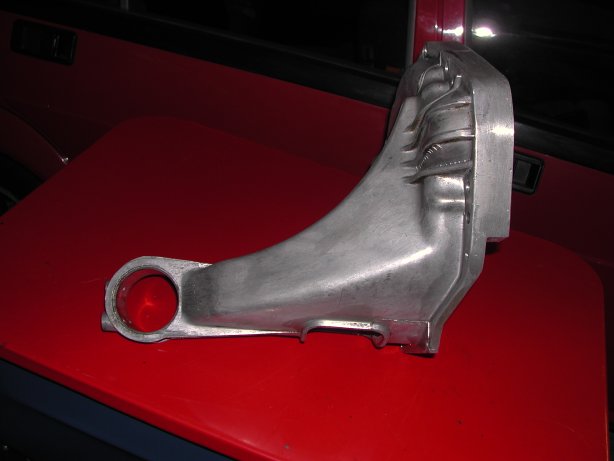
This is why I decided it needed replacing :-). Every bit of exterior rubber on this car....toast!

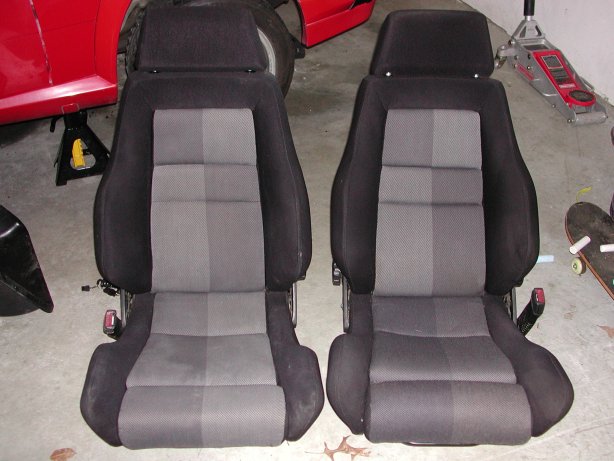
Meanwhile one of the local Milano clan was selling his extra pair of Recaro's that were in better shape than mine so I snagged them.
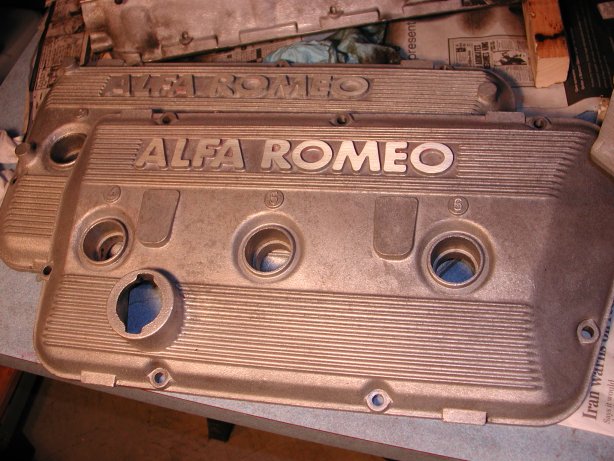
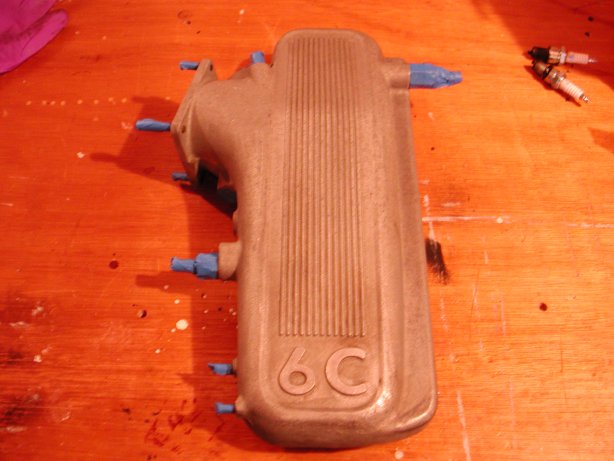
I decided that I wanted to paint my cam covers and the plenum so
I chose the black VHT wrinkle paint. Here they are before, degreased and
with the ratty red paint sanded off the lettering with 320 grit wet/dry sandpaper.
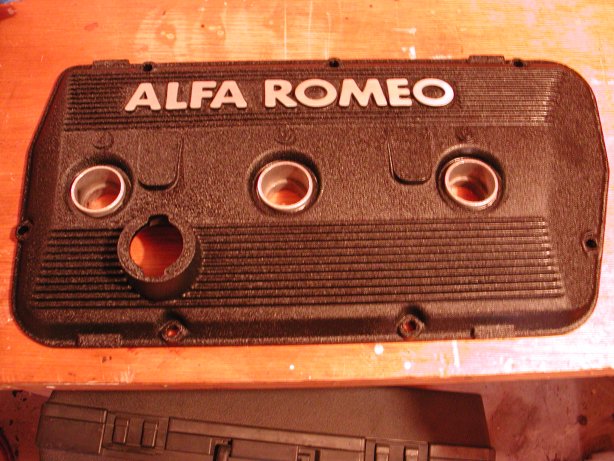
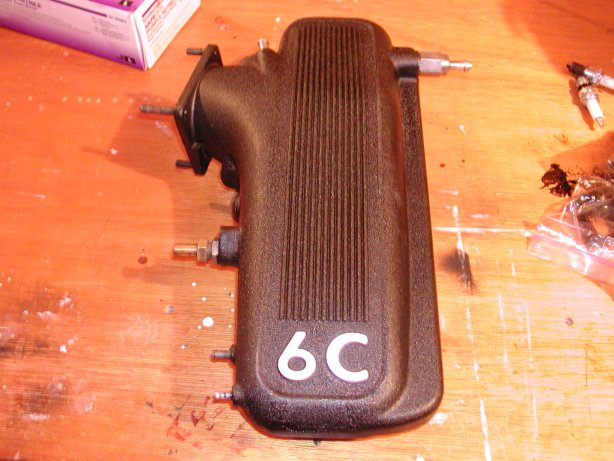
Update 11/16/12: The paint looked nice for about a year, then started to chip of in a couple places and started
looking a little tatty again. I did another set using powder coating instead which have lasted a lot longer.
I used the Powder Coat gun from Harbor Freight and got some of Eastwood's Black Wrinkle powdercoat paint.
And the final results, nice!
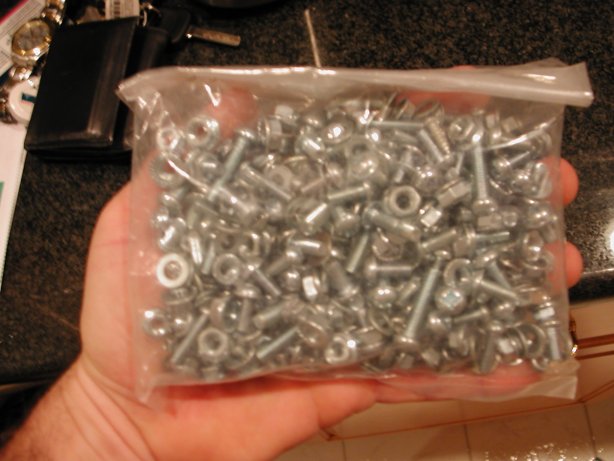
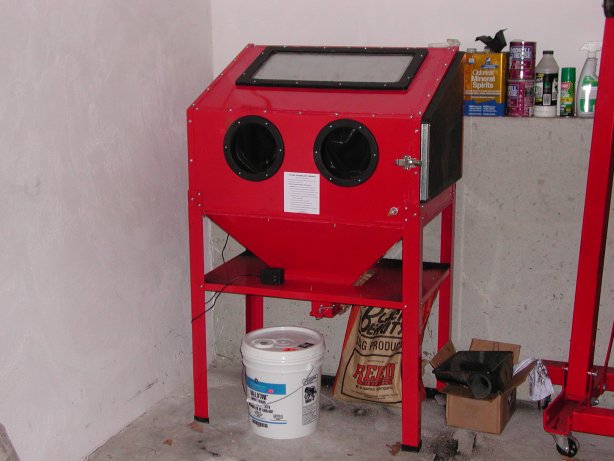
I've been wanting to get a blast cabinet for some time now and finally took the plunge and got a decent deal on one on e-bay. It arrived quickly and I opened up the box to set it up. I found the bag of bolts/washers/nuts and realized I had my work cut out for me, look at the size of this bag!
It took a while but I got it together.
That's all for this update.
Week 1: Jan 21, 2006 - Preparing to remove the engine
Week 2: Jan 28, 2006 - Getting the engine out of the car
Week 3: Feb 04, 2006 - Removal of the heads and oil pan
Week 4: Feb 11, 2006 - Removal of the pistons and crankshaft
Week 5: Feb 13, 2006 - Mar 26, 2006 - Much time passes with little rebuild progress...but got other stuff done
Finishing Up: Jul 02, 2006 - Much more time passes but finally finished!