Verde Rebuild Week 3
Feb 4-5, 2006
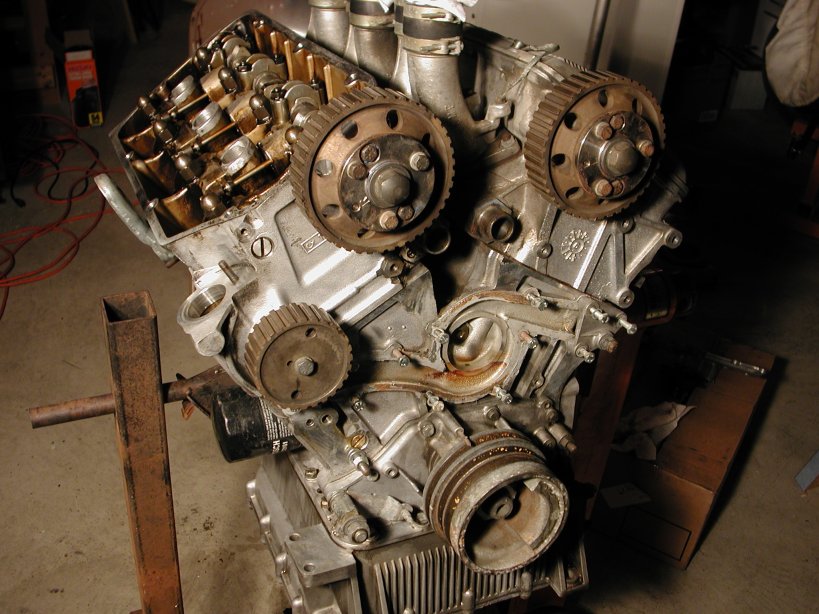
Spent a few hours with some of the citrus and purple stuff degreaser and a wire brush and then later an old toothbrush cleaning the crud off. Scrub a little and then rinse it off with a spray bottle of water, repeat, repeat, repeat... it took longer than using the nasty ozone depleting stuff but it didn't stink up the basement and the rest of the house so it was worth it! Here's a shot of the now fairly clean engine:
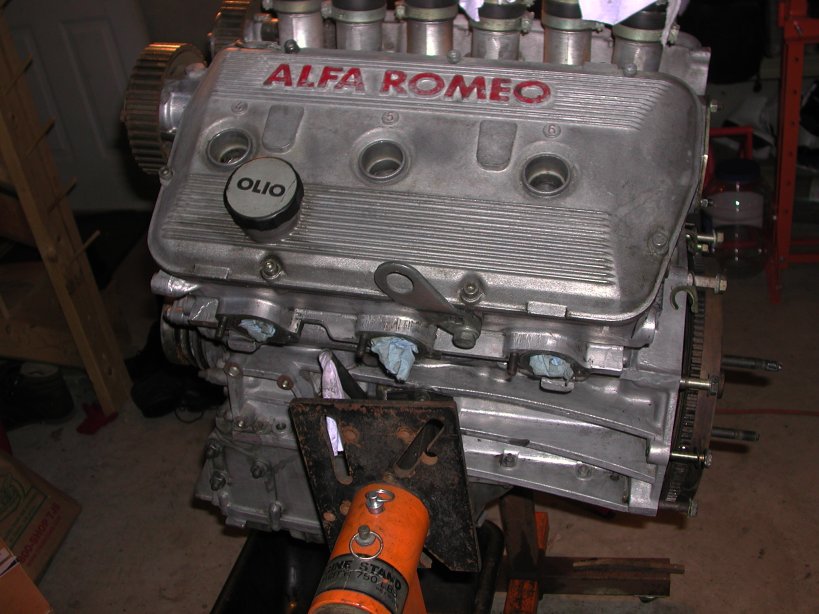
The now clean (mostly) engine
I'm having a heck of a time remembering which cylinder is which so I'm putting this pic here to remind me which way 123 go:
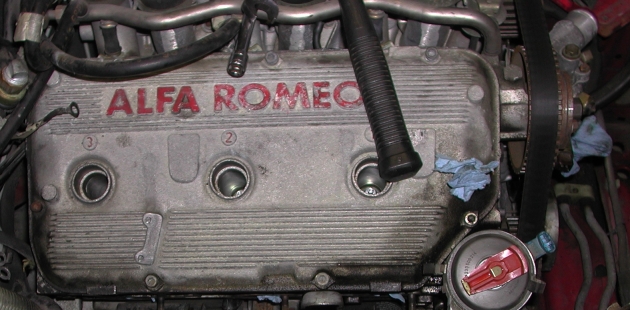
Cam cover for cylinders 1-2-3 (before cleaning)
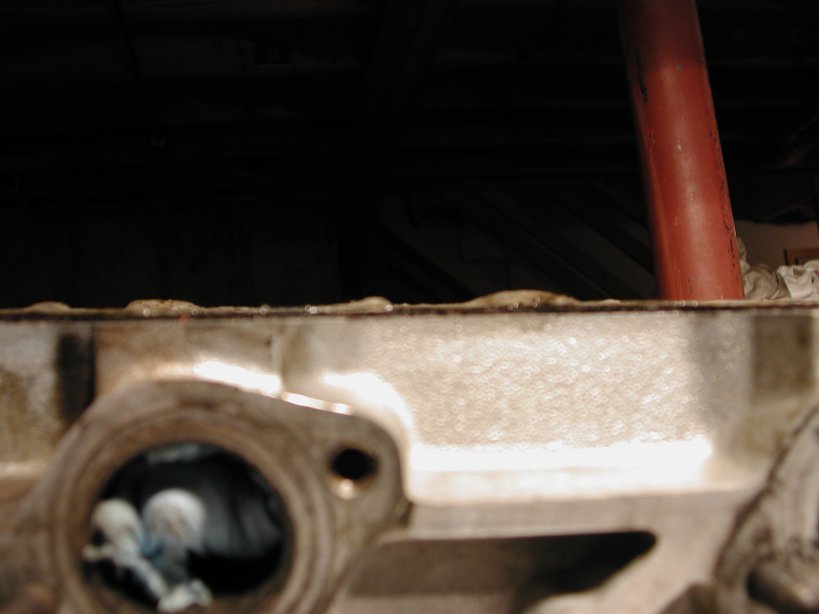
Once the weekend came my goal was to at least pull the heads. First off with the cam covers:
Cam cover off - passenger side
Cam cover off - driver side
Then off with the thermostat, water pump, distributor, and intermediate distributor drive gear (gear inside hole distributor goes into):
Water pump and thermostat off
Now off with their heads! The pistons, except for #1 have a fair amount of crud on them. If you look carefully in between the cylinder liners you can see some goop settled into some of the crevices. Not sure why #1 is so much cleaner than the other five...
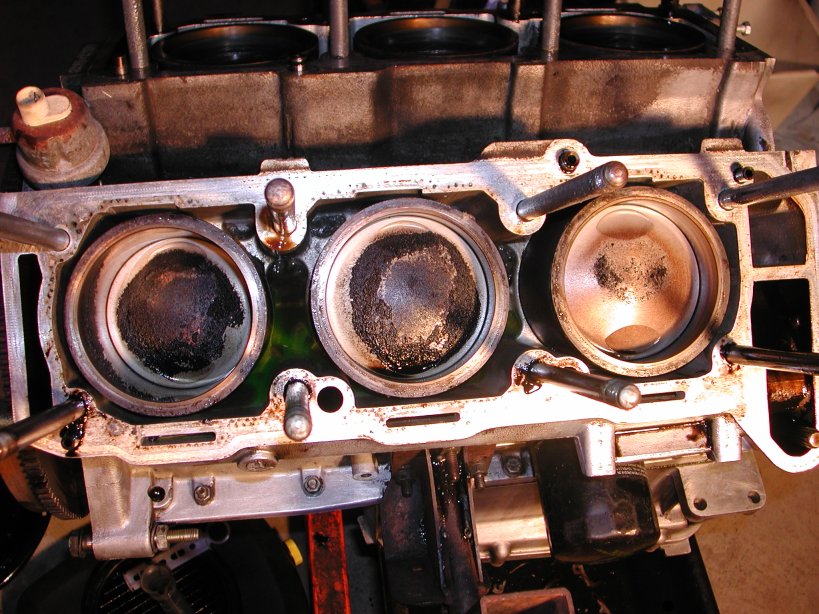
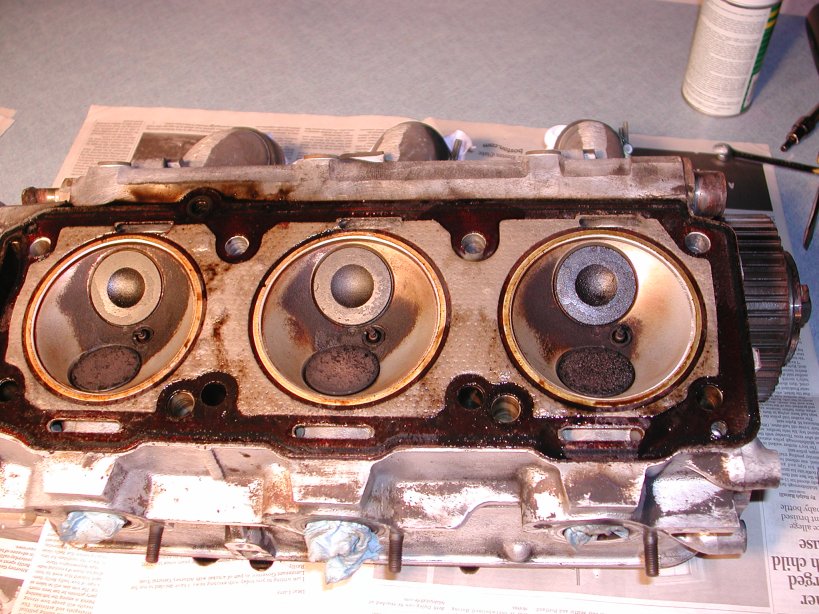
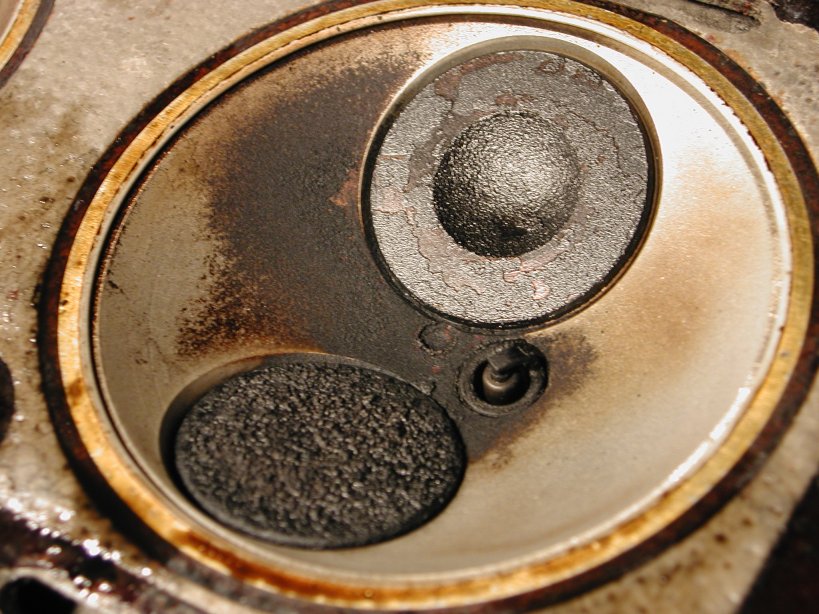
Head off passenger side
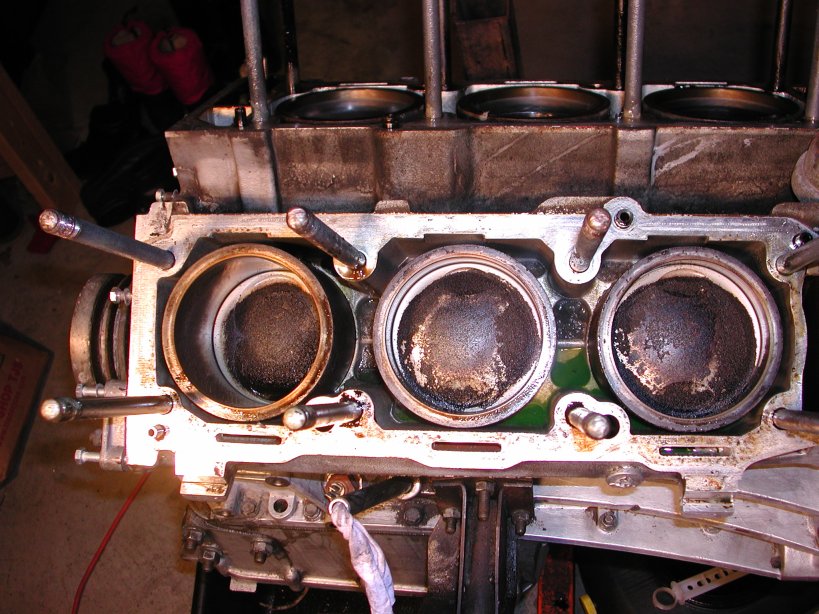
Head off driver side
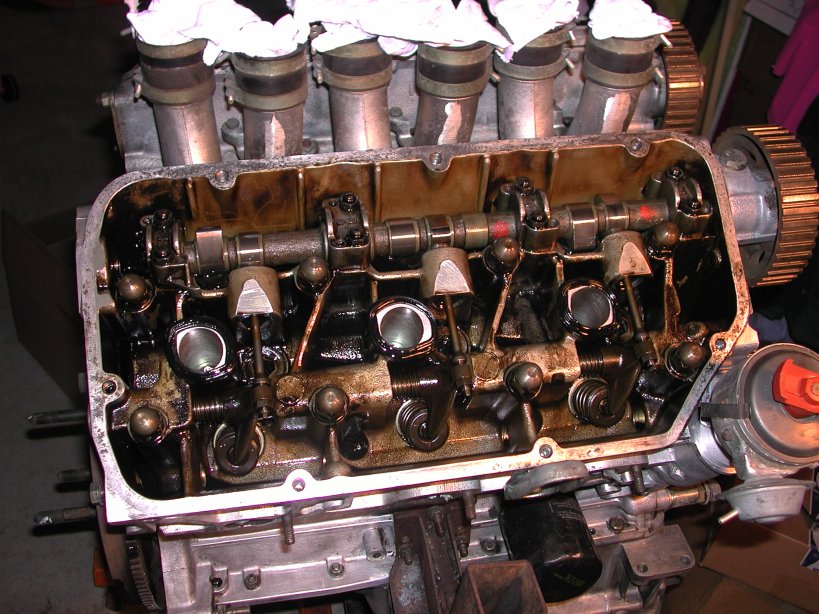
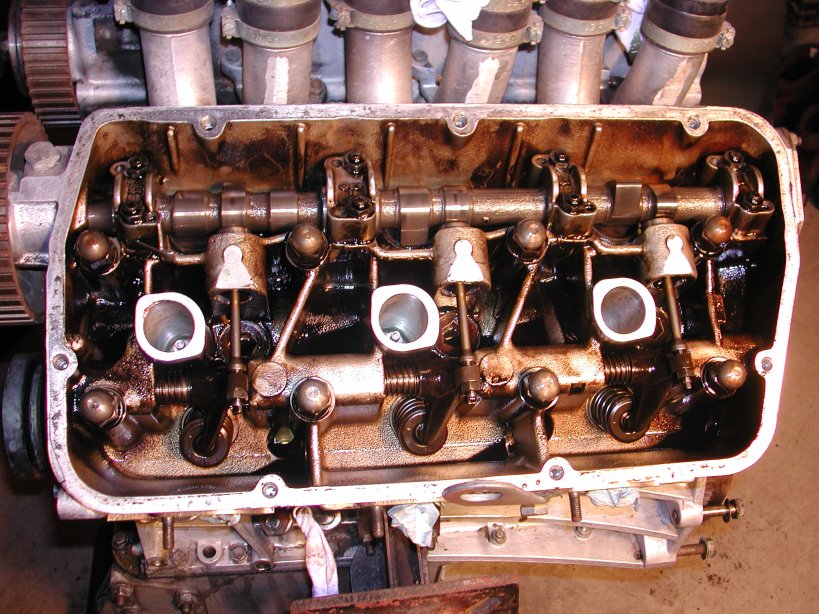
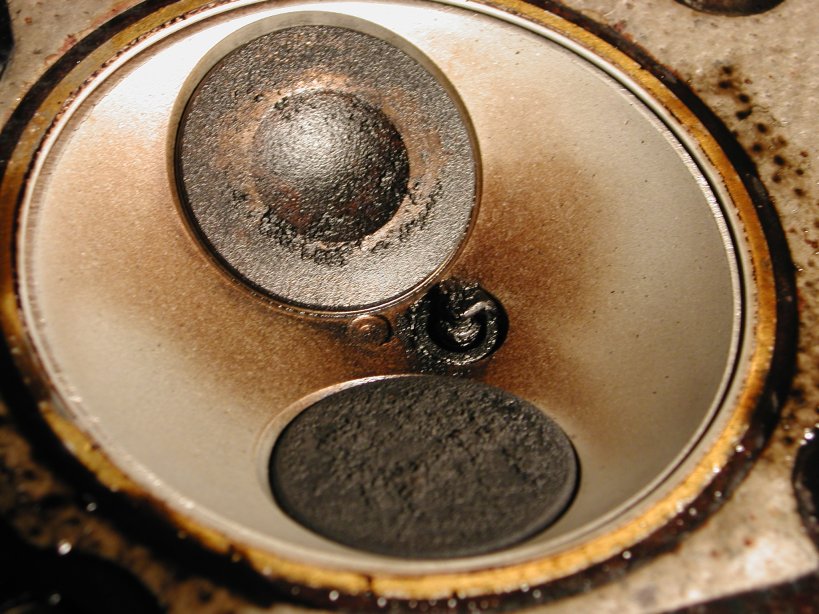
Now for a look at the valves
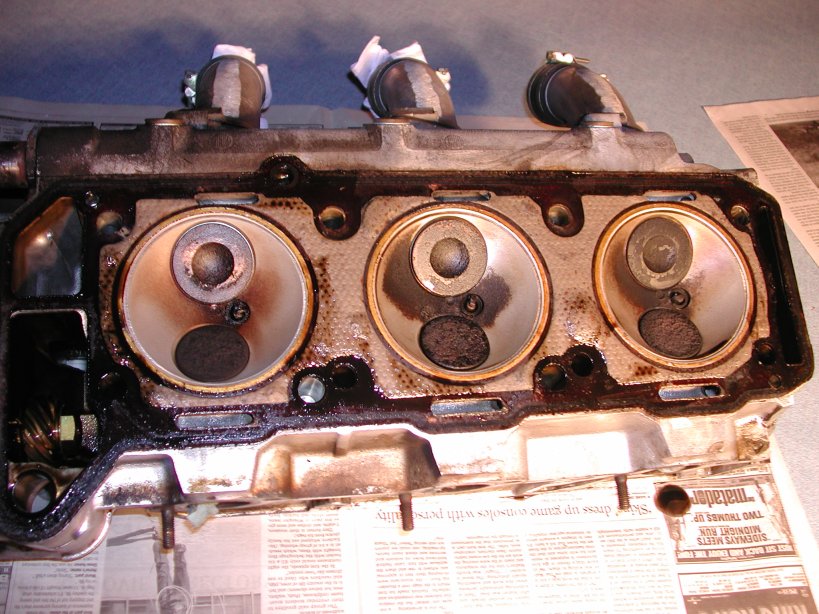
Valves - Passenger side
Valves - Driver side
There are a couple rather puffy areas on the gasket (they look slightly darker in the picture above. Seen from the side you can see how puffy they really are, was this some pending doom for the head gasket?
A little fuzzy but you can see parts of the head gasket puffing up, squishy with coolant when you poke them
Close ups of each set of valves:
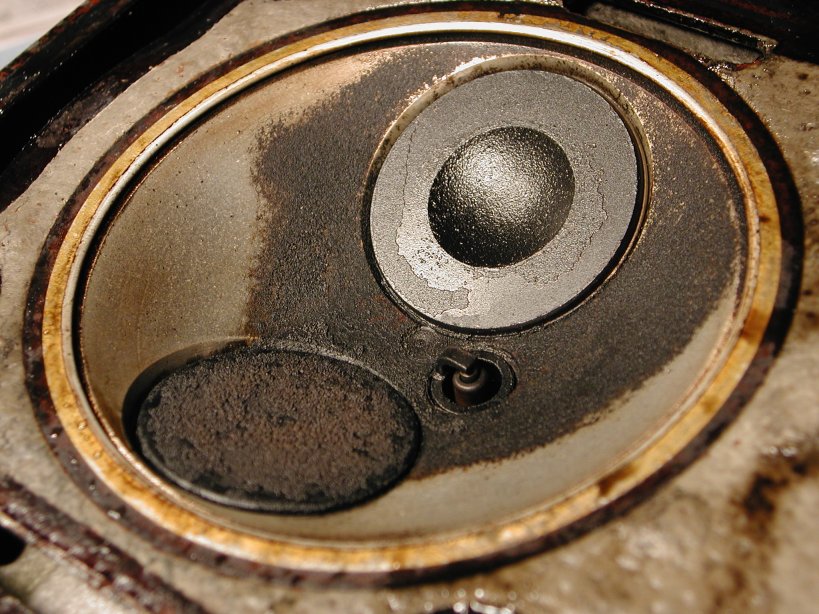
Valve 6
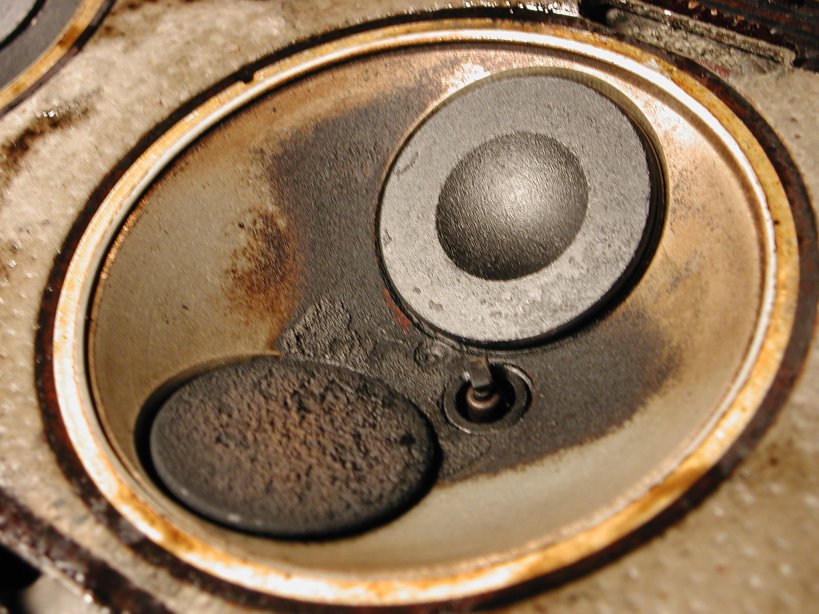
Valve 5
Valve 4
Valve 3 - Lots of crud on this plug

Valve 2
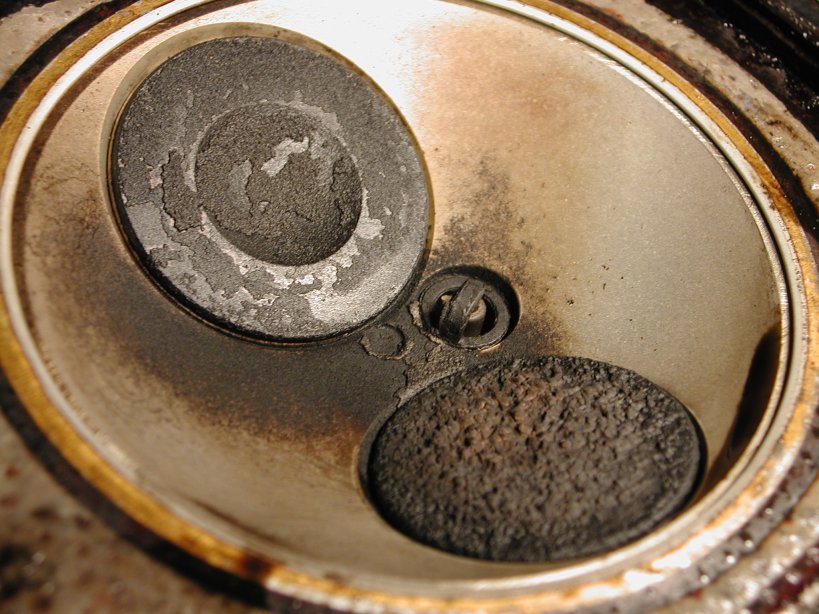
Valve 1
Time to pull the oil pan now. Turns out the two bolts near the engine mounts will not come out because the mount on the engine stand is in the way. Those two took some time to get undone, rather strange, had 12mm, 11mm, and two 10mm bolts holding the pan in. There was a little crud sitting on the oil pump filter. The interior of the oil pan looked ok, not too much gunk.
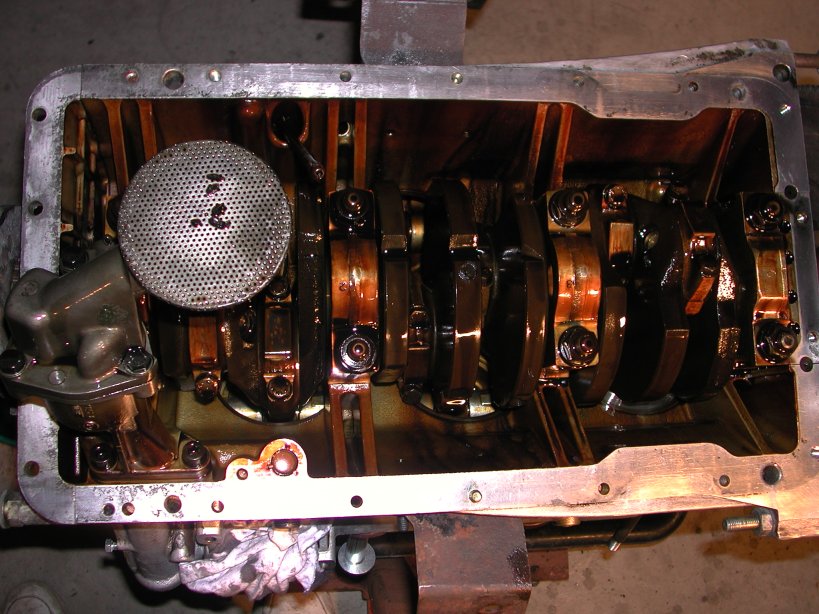
Oil pan off
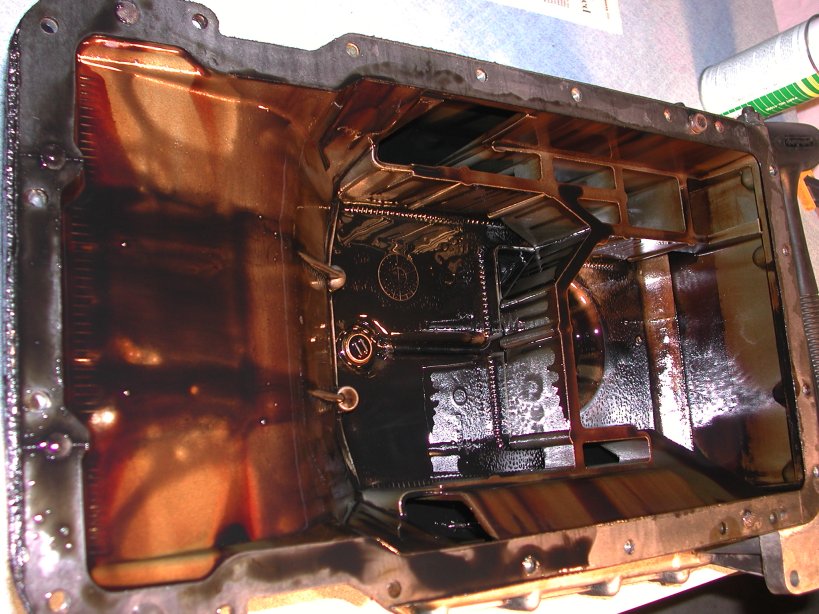
Inside the oil pan
Upon closer inspection of the oil pan I found a few metal shavings, couldn't tell where the came from or if they fell in during disassembly or something more ominous.
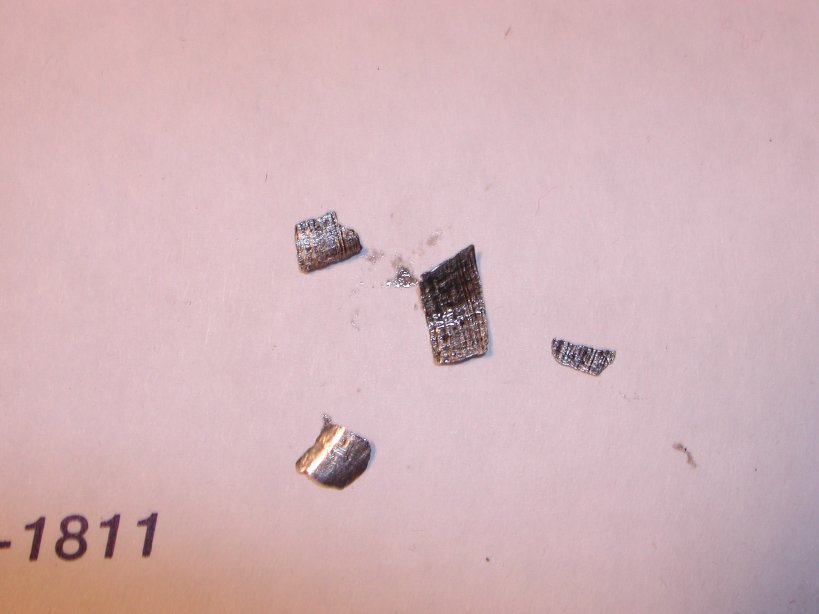
Metal bits from the oil pan - they are paper thin and largest is about 1/8" wide
That's all for this weekend, will let the remaining oil slowly drain out over the next day or so and do some more reading to try and figure out the cause of the oil burning, no obvious candidate (at least to me) yet.
Week 1: Jan 21, 2006 - Preparing to remove the engine
Week 2: Jan 28, 2006 - Getting the engine out of the car
Week 3: Feb 04, 2006 - Removal of the heads and oil pan
Week 4: Feb 11, 2006 - Removal of the pistons and crankshaft
Week 5: Feb 13, 2006 - Mar 26, 2006 - Much time passes with little rebuild progress...but got other stuff done
Finishing Up: Jul 02, 2006 - Much more time passes but finally finished!