Verde Rebuild Week 2
Jan 28-29, 2006
OK now I've got just about everything thing disconnected and/or removed:
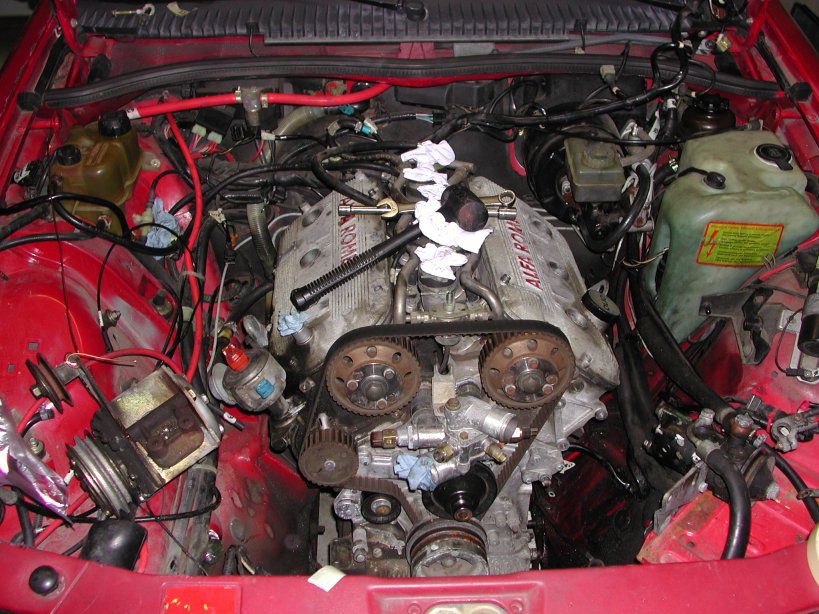
Most of the components disconnected and/or removed
Just need to deal with the driveshaft and the three engine mounts.
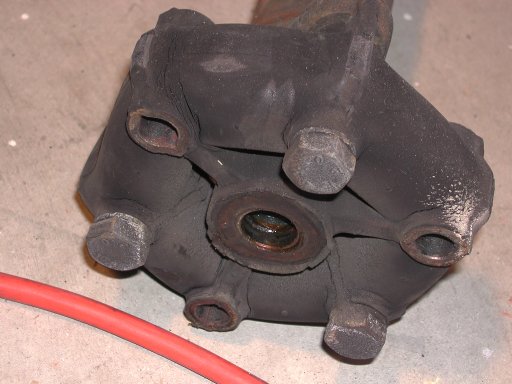
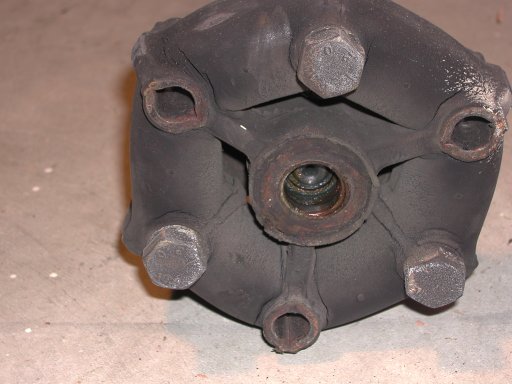
Rather than just disconnect the front of the driveshaft I decided to remove
the whole thing as I have no clue when the flex discs had been replaced in the past.
The car has no rust being a CA car all its life but almost all of the rubber
bushings were starting to fall apart so I figured I'd better get
a closer look at them. While there were not in terrible shape there
were a couple of cracks in them so I may as well replace them while I've got the
shaft off. The cracks are a little hard to see in the picture.
I bought some white touch up paint to mark all the hardware coming off the
driveshaft and the relative locations of the coupling points so I can get it put
back together and attached in the same orientation. I'd previously done
the marking with a black sharpie permanent marker on my Spider only to have a
couple of the marks rub off so am hoping the white paint will last longer!
I looked at anything the might be in the way before trying to pull the engine
and was a little worried about the brake booster as the engine would hit it if
pulled straight up (you'll notice that my Verde has been converted by a PO to
non ABS). After hearing horror stories of how hard it was to take off the
nuts holding the booster on I really didn't want to tackle that and noticed that
the manual said nothing about removing it... I decided that I might be
able to get some more motion to the left side of the bay if I removed the
starter first so I did and it worked out well. That is why the hammer is
in the above picture! It was a little tight getting to one of the bolts
holding the starter in so I put the wrench on the nut and then wedged a socket
and extension against the other end of the wrench and tapped it with the hammer
to break it loose. I spent the next five minutes turning the bolt with my
hand painfully wedged in between the firewall and the engine only to finally
figure out there was a nut hidden down between the starter and the solenoid.
I was able to get a long extension in there by pushing it down the length of the
starter between it and the fat wire that was wedged in there and finally got the
bolt off.
After that I disconnected the rear engine mount and then the two in the
engine bay, attached a chain and started to slowly lift with the hoist. I
only got it up a couple inches and it was stuck, it would not move forward more
than an inch or so. The manual recommended having a buddy under the car to
help guide the flywheel casing/rear engine mount housing out but I didn't have
anyone handy. I got under the car to access the situation and figure out
that if I could get the rear engine mount up and over the bracket it attaches to
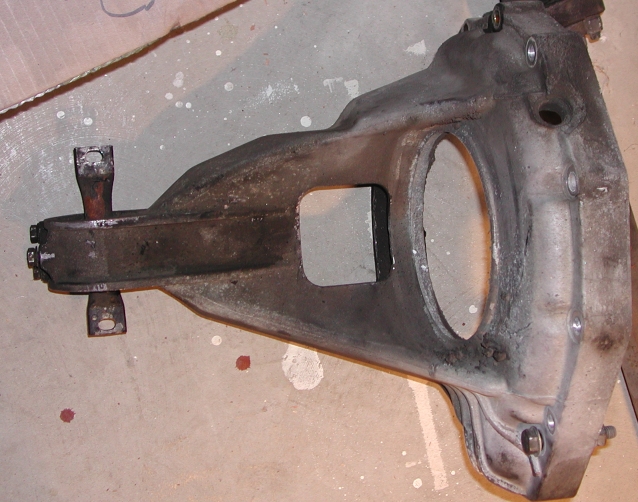
I'd be golden, here's a pic of the mount I'm talking about (from the IAP site):
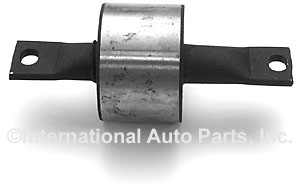
Rear engine mount (pic from IAP site)
And here is the mine still in the flywheel cover (which I took off after removing the engine from the car):
Rear engine mount and flywheel cover
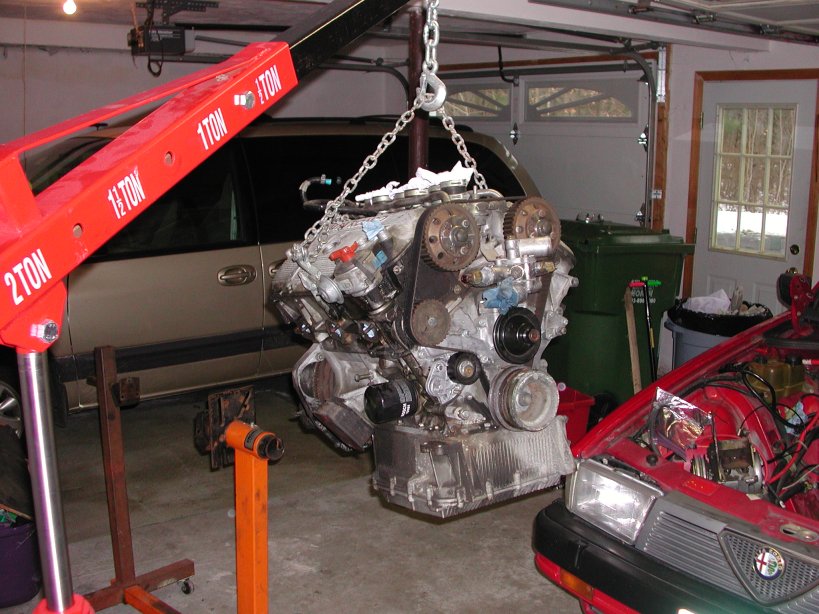
I was able to easily get one side of the mount up and over the bracket as they rubber was rather worn (I have a new one waiting to go in), the second side took some more persuasion with a large screwdriver, I think I bent one side of the mount but since I'm replacing it it doesn't matter. Once I did that I went back to the hoist and sure enough the engine move around, up, and out easily! Here are a few shots of the engine coming out:
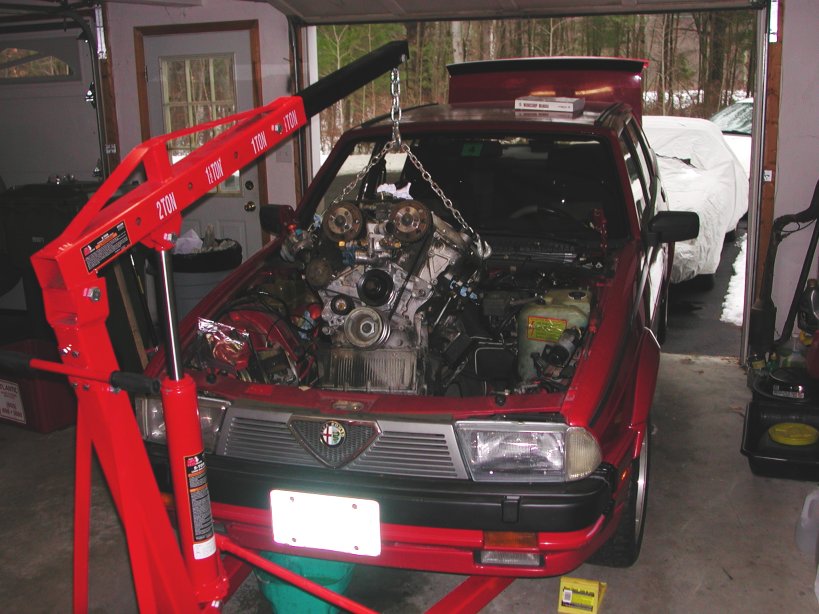
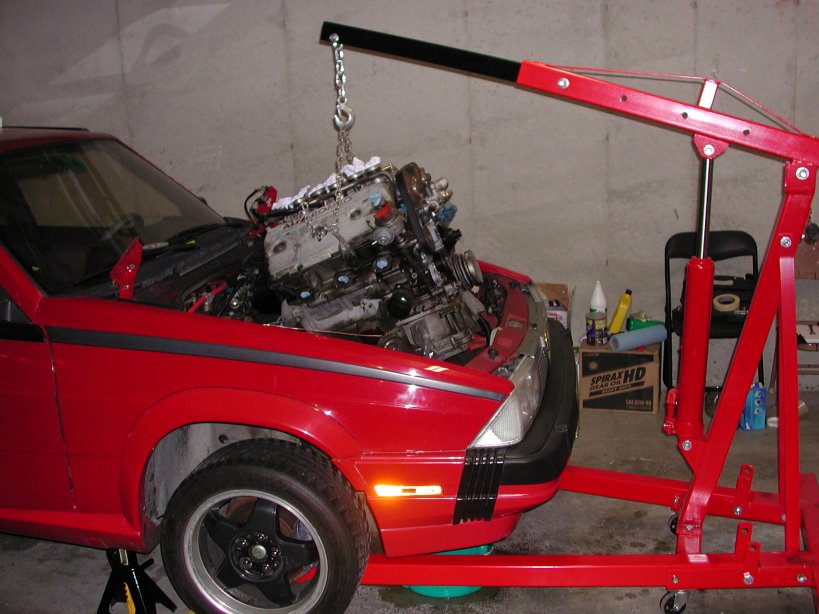
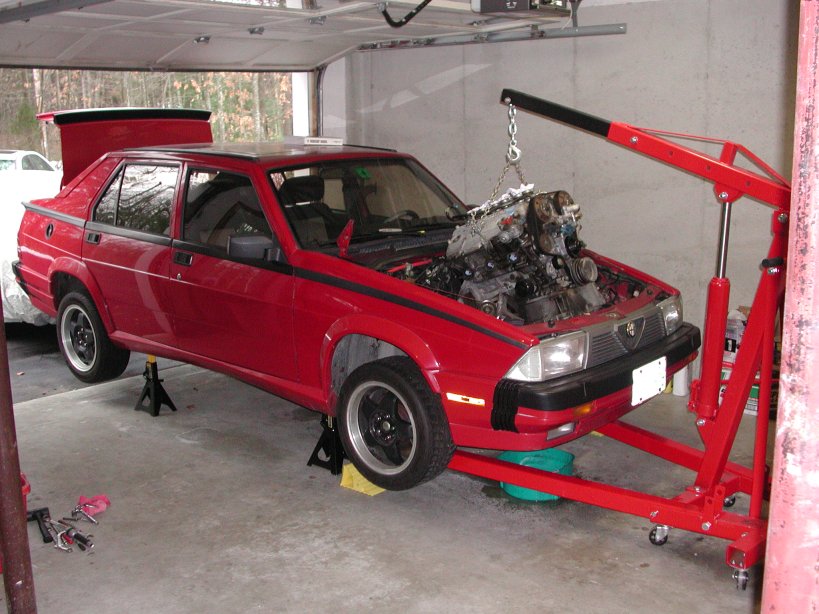
I had to jack up the front end to the minimum height for the jacks to be able to get the hoists legs far enough under the car to do the lift. Here's a shot once the engine was completely out:
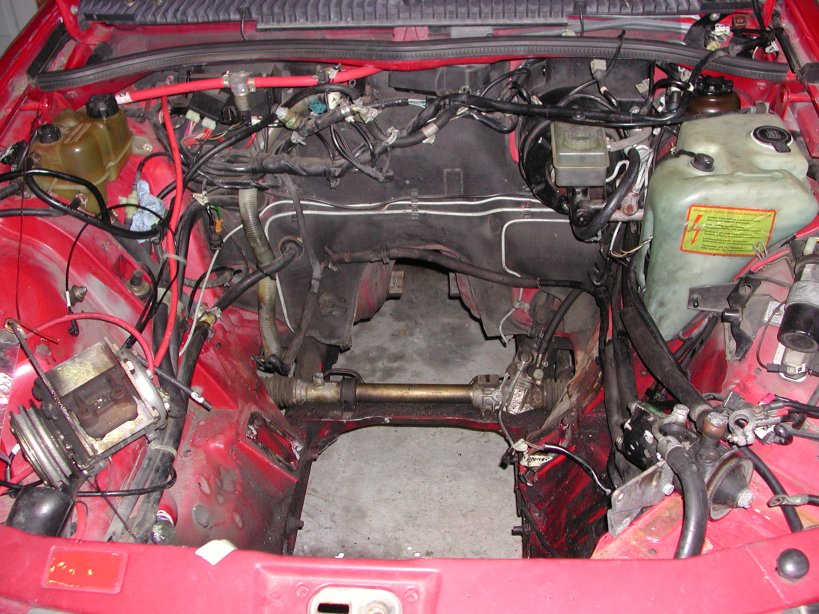
And the empty engine bay:
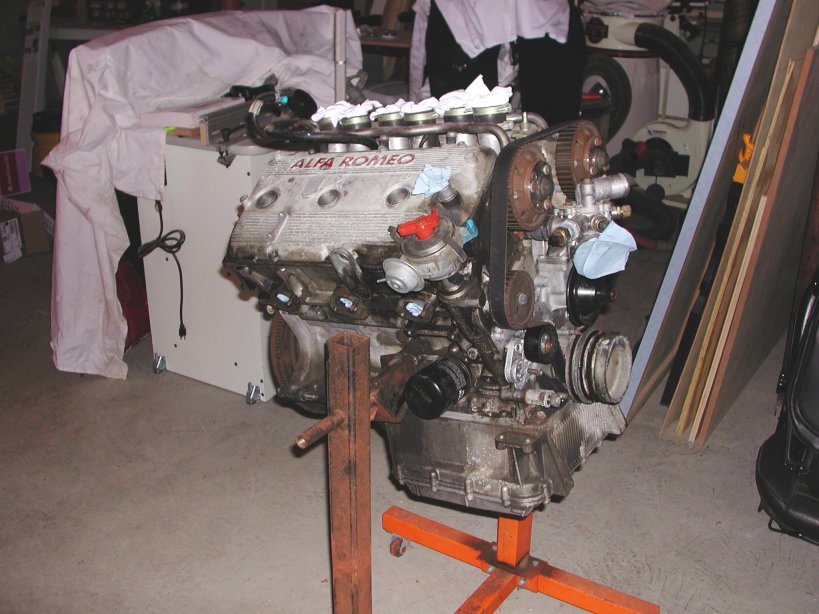
And finally the engine on the stand:
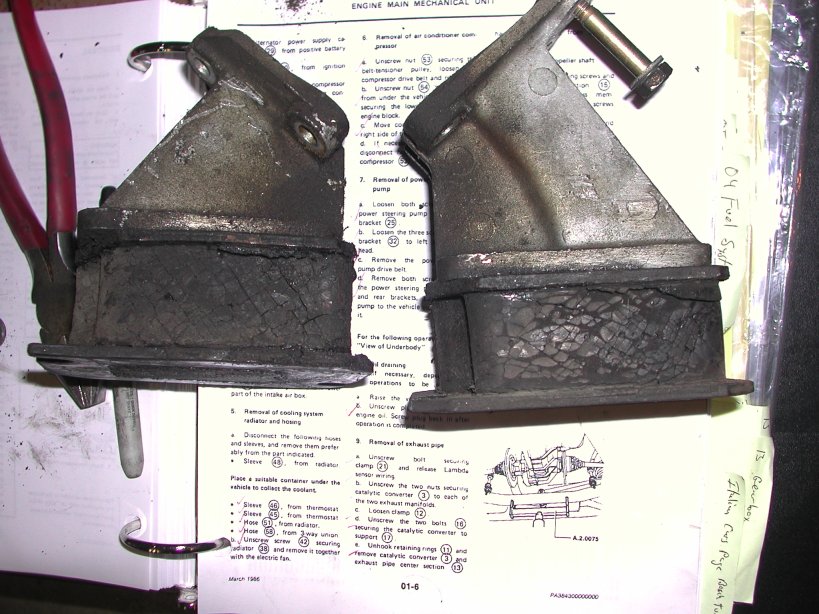
I looked at the front engine mounts after I removed them, and as is the same with all the other rubber pieces it looks like I should replace these too:
That's it for this weekend. Need to spend some time with some degreaser to clean up the engine prior to opening it up.
Week 1: Jan 21, 2006 - Preparing to remove the engine
Week 2: Jan 28, 2006 - Getting the engine out of the car
Week 3: Feb 04, 2006 - Removal of the heads and oil pan
Week 4: Feb 11, 2006 - Removal of the pistons and crankshaft
Week 5: Feb 13, 2006 - Mar 26, 2006 - Much time passes with little rebuild progress...but got other stuff done
Finishing Up: Jul 02, 2006 - Much more time passes but finally finished!